SR Research
SR Research社のEyeLinkは、高速、正確、信頼性の高いアイトラッキング製品として、世界中のトップレベルの研究所で使用されています。
その卓越したレベルの精度と高速サンプリングにより、幅広いアプリケーションで活用できる最適なシステムをご案内いたします。
このたび、ゼロシーセブン株式会社では SR Research社ホームページ を一新いたしました。
スマートフォンやタブレットでの表示にも対応しましたので、デバイスを問わずにいつでも閲覧いただけます。
つきましては、SR Research社ホームページのアドレスを「お気に入り」や「ブックマーク」に登録されているお客様には、大変お手数をおかけいたしますが、設定の変更をお願いいたします。
■SR Research社 ホームページURL
(旧):http://sr-research.jp → (新):https://www.0c7.co.jp/products/srresearch/
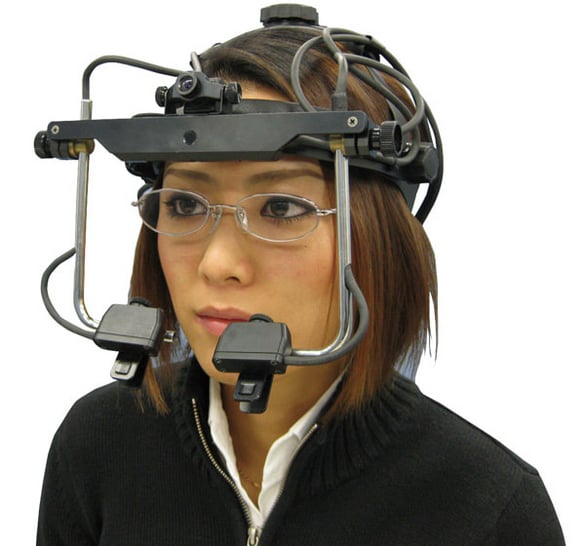
EyeLink Ⅱ
ヘッドマウントタイプのアイトラッキングシステム
頭部運動の補正機能、ヘッドマウントのスリップ補正機能により長時間安定したデータ取り込みが可能です。
両眼500Hz同時計測、空間解像度0.01°、3mSecのリアルタイムデータ処理を可能にするハードウェアと付属のSDKやExperimentBuilderを組み合わせると、マイクロサッカード、スムースパーシュート、バージェンスに対応した課題を簡単に作成できます
詳しく→
![]()
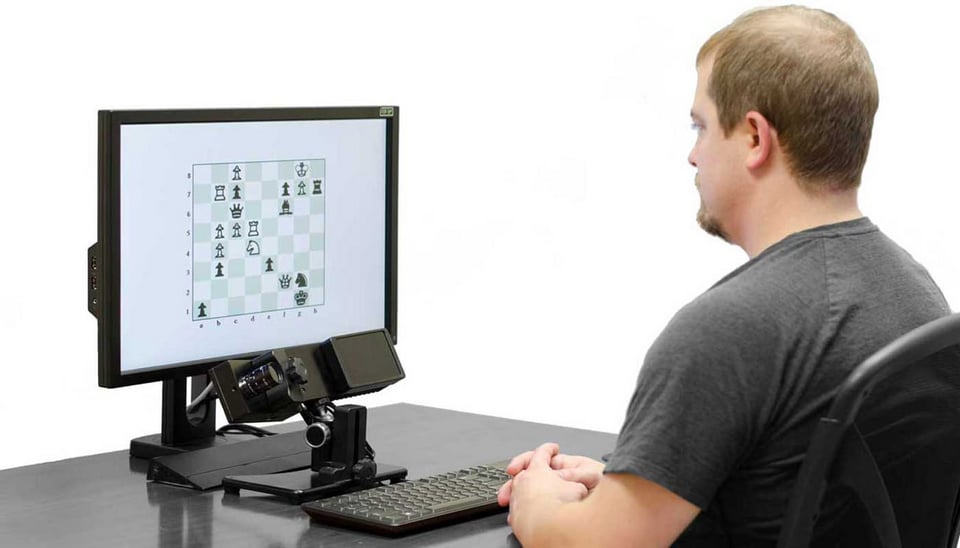
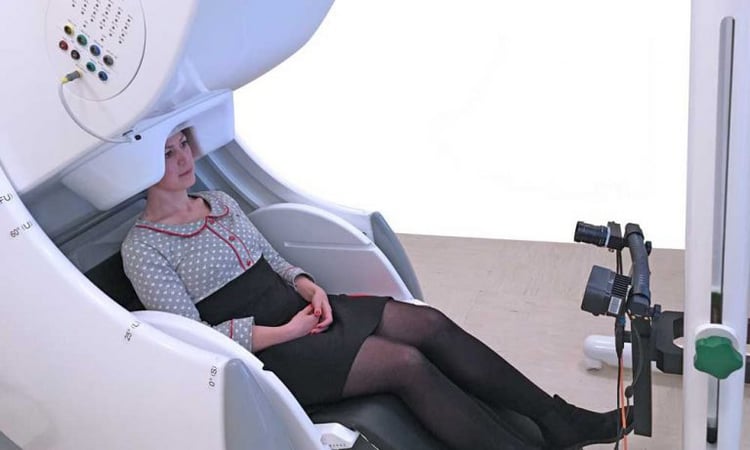
EyeLink 1000 PLUSシリーズ
世界最速、最高精度のアイトラッカー
カメラ1台を様々なカメラマウントに設置、セットアップが可能です。幼児から高齢の被験者やPrimateへも対応し、MRI、MEG環境での計測もおこなえます。
EEG、ECoG、fNIRとの同時計測の実績も多く、汎用性、拡張性があり様々なタスク・実験環境をサポートします。 刺激提示用PCとHostPCをLAN接続し双方向でのインタラクティブな通信をおこないます。
詳しく→
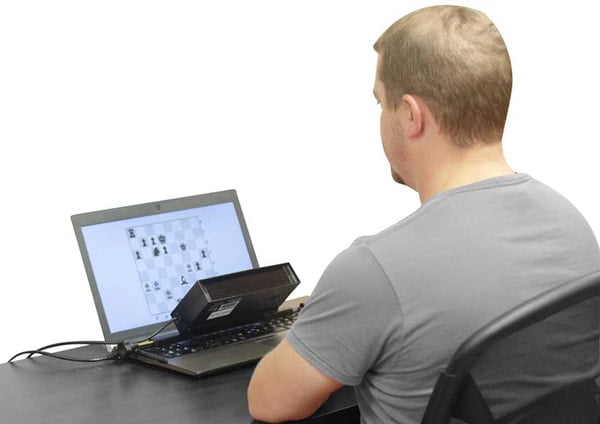
EyeLink Portable Duo
どこでも簡単に高精度アイトラッキング
計測用のノート型HostPCにカメラをUSB接続するだけ。持ち運びも簡単に。クリニック、オフィス、ラボ、自宅など、どこでも簡単に高精度にアイトラッキングが可能です。
使い方も自由自在。EyeLink Portable Duoは、カメラ設置用三脚を使用しデスクトップ型モニタに刺激提示することや、カメラ設置用のバーを使用しノートPCのモニタに刺激提示など、リモートモードでの計測が可能です。
詳しく→